Friday, March 15, 2019
Kubernetes Setup Using Ansible and Vagrant
Author: Naresh L J (Infosys)
Objective
This blog post describes the steps required to setup a multi node Kubernetes cluster for development purposes. This setup provides a production-like cluster that can be setup on your local machine.
Why do we require multi node cluster setup?
Multi node Kubernetes clusters offer a production-like environment which has various advantages. Even though Minikube provides an excellent platform for getting started, it doesn’t provide the opportunity to work with multi node clusters which can help solve problems or bugs that are related to application design and architecture. For instance, Ops can reproduce an issue in a multi node cluster environment, Testers can deploy multiple versions of an application for executing test cases and verifying changes. These benefits enable teams to resolve issues faster which make the more agile.
Why use Vagrant and Ansible?
Vagrant is a tool that will allow us to create a virtual environment easily and it eliminates pitfalls that cause the works-on-my-machine phenomenon. It can be used with multiple providers such as Oracle VirtualBox, VMware, Docker, and so on. It allows us to create a disposable environment by making use of configuration files.
Ansible is an infrastructure automation engine that automates software configuration management. It is agentless and allows us to use SSH keys for connecting to remote machines. Ansible playbooks are written in yaml and offer inventory management in simple text files.
Prerequisites
- Vagrant should be installed on your machine. Installation binaries can be found here.
- Oracle VirtualBox can be used as a Vagrant provider or make use of similar providers as described in Vagrant’s official documentation.
- Ansible should be installed in your machine. Refer to the Ansible installation guide for platform specific installation.
Setup overview
We will be setting up a Kubernetes cluster that will consist of one master and two worker nodes. All the nodes will run Ubuntu Xenial 64-bit OS and Ansible playbooks will be used for provisioning.
Step 1: Creating a Vagrantfile
Use the text editor of your choice and create a file with named Vagrantfile, inserting the code below. The value of N denotes the number of nodes present in the cluster, it can be modified accordingly. In the below example, we are setting the value of N as 2.
IMAGE_NAME = "bento/ubuntu-16.04"
N = 2

Vagrant.configure("2") do |config|
    config.ssh.insert_key = false

    config.vm.provider "virtualbox" do |v|
        v.memory = 1024
        v.cpus = 2
    end

    config.vm.define "k8s-master" do |master|
        master.vm.box = IMAGE_NAME
        master.vm.network "private_network", ip: "192.168.50.10"
        master.vm.hostname = "k8s-master"
        master.vm.provision "ansible" do |ansible|
            ansible.playbook = "kubernetes-setup/master-playbook.yml"
        end
    end

    (1..N).each do |i|
        config.vm.define "node-#{i}" do |node|
            node.vm.box = IMAGE_NAME
            node.vm.network "private_network", ip: "192.168.50.#{i + 10}"
            node.vm.hostname = "node-#{i}"
            node.vm.provision "ansible" do |ansible|
                ansible.playbook = "kubernetes-setup/node-playbook.yml"
            end
        end
    end
Step 2: Create an Ansible playbook for Kubernetes master.
Create a directory named kubernetes-setup in the same directory as the Vagrantfile. Create two files named master-playbook.yml and node-playbook.yml in the directory kubernetes-setup.
In the file master-playbook.yml, add the code below.
Step 2.1: Install Docker and its dependent components.
We will be installing the following packages, and then adding a user named “vagrant” to the “docker” group. - docker-ce - docker-ce-cli - containerd.io
---
- hosts: all
  become: true
  tasks:
  - name: Install packages that allow apt to be used over HTTPS
    apt:
      name: "{{ packages }}"
      state: present
      update_cache: yes
    vars:
      packages:
      - apt-transport-https
      - ca-certificates
      - curl
      - gnupg-agent
      - software-properties-common

  - name: Add an apt signing key for Docker
    apt_key:
      url: https://download.docker.com/linux/ubuntu/gpg
      state: present

  - name: Add apt repository for stable version
    apt_repository:
      repo: deb [arch=amd64] https://download.docker.com/linux/ubuntu xenial stable
      state: present

  - name: Install docker and its dependecies
    apt:
      name: "{{ packages }}"
      state: present
      update_cache: yes
    vars:
      packages:
      - docker-ce
      - docker-ce-cli
      - containerd.io
    notify:
      - docker status

  - name: Add vagrant user to docker group
    user:
      name: vagrant
      group: docker
Step 2.2: Kubelet will not start if the system has swap enabled, so we are disabling swap using the below code.
  - name: Remove swapfile from /etc/fstab
    mount:
      name: "{{ item }}"
      fstype: swap
      state: absent
    with_items:
      - swap
      - none

  - name: Disable swap
    command: swapoff -a
    when: ansible_swaptotal_mb > 0
Step 2.3: Installing kubelet, kubeadm and kubectl using the below code.
  - name: Add an apt signing key for Kubernetes
    apt_key:
      url: https://packages.cloud.google.com/apt/doc/apt-key.gpg
      state: present

  - name: Adding apt repository for Kubernetes
    apt_repository:
      repo: deb https://apt.kubernetes.io/ kubernetes-xenial main
      state: present
      filename: kubernetes.list

  - name: Install Kubernetes binaries
    apt:
      name: "{{ packages }}"
      state: present
      update_cache: yes
    vars:
      packages:
        - kubelet
        - kubeadm
        - kubectl
Step 2.3: Initialize the Kubernetes cluster with kubeadm using the below code (applicable only on master node).
  - name: Initialize the Kubernetes cluster using kubeadm
    command: kubeadm init --apiserver-advertise-address="192.168.50.10" --apiserver-cert-extra-sans="192.168.50.10"  --node-name k8s-master --pod-network-cidr=192.168.0.0/16
Step 2.4: Setup the kube config file for the vagrant user to access the Kubernetes cluster using the below code.
  - name: Setup kubeconfig for vagrant user
    command: "{{ item }}"
    with_items:
     - mkdir -p /home/vagrant/.kube
     - cp -i /etc/kubernetes/admin.conf /home/vagrant/.kube/config
     - chown vagrant:vagrant /home/vagrant/.kube/config
Step 2.5: Setup the container networking provider and the network policy engine using the below code.
  - name: Install calico pod network
    become: false
    command: kubectl create -f https://docs.projectcalico.org/v3.4/getting-started/kubernetes/installation/hosted/calico.yaml
Step 2.6: Generate kube join command for joining the node to the Kubernetes cluster and store the command in the file named join-command.
  - name: Generate join command
    command: kubeadm token create --print-join-command
    register: join_command

  - name: Copy join command to local file
    local_action: copy content="{{ join_command.stdout_lines[0] }}" dest="./join-command"
Step 2.7: Setup a handler for checking Docker daemon using the below code.
  handlers:
    - name: docker status
      service: name=docker state=started
Step 3: Create the Ansible playbook for Kubernetes node.
Create a file named node-playbook.yml in the directory kubernetes-setup.
Add the code below into node-playbook.yml
Step 3.1: Start adding the code from Steps 2.1 till 2.3.
Step 3.2: Join the nodes to the Kubernetes cluster using below code.
  - name: Copy the join command to server location
    copy: src=join-command dest=/tmp/join-command.sh mode=0777

  - name: Join the node to cluster
    command: sh /tmp/join-command.sh
Step 3.3: Add the code from step 2.7 to finish this playbook.
Step 4: Upon completing the Vagrantfile and playbooks follow the below steps.
$ cd /path/to/Vagrantfile
$ vagrant up
Upon completion of all the above steps, the Kubernetes cluster should be up and running. We can login to the master or worker nodes using Vagrant as follows:
$ ## Accessing master
$ vagrant ssh k8s-master
vagrant@k8s-master:~$ kubectl get nodes
NAME         STATUS   ROLES    AGE     VERSION
k8s-master   Ready    master   18m     v1.13.3
node-1       Ready    <none>   12m     v1.13.3
node-2       Ready    <none>   6m22s   v1.13.3

$ ## Accessing nodes
$ vagrant ssh node-1
$ vagrant ssh node-2
2018.12.05
新贡献者工作坊上海站
作者: Josh Berkus (红帽), Yang Li (The Plant), Puja Abbassi (Giant Swarm), XiangPeng Zhao (中兴通讯)

KubeCon 上海站新贡献者峰会与会者,摄影:Jerry Zhang
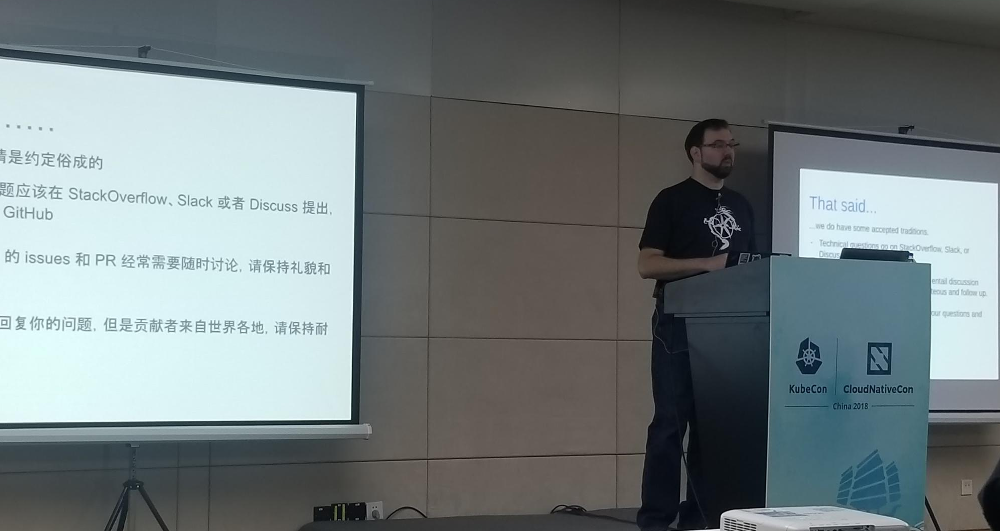
最近,在中国的首次 KubeCon 上,我们完成了在中国的首次新贡献者峰会。看到所有中国和亚洲的开发者(以及来自世界各地的一些人)有兴趣成为贡献者,这令人非常兴奋。在长达一天的课程中,他们了解了如何、为什么以及在何处为 Kubernetes 作出贡献,创建了 PR,参加了贡献者圆桌讨论,并签署了他们的 CLA。
这是我们的第二届新贡献者工作坊(NCW),它由前一次贡献者体验 SIG 成员创建和领导的哥本哈根研讨会延伸而来。根据受众情况,本次活动采用了中英文两种语言,充分利用了 CNCF 赞助的一流的同声传译服务。同样,NCW 团队由社区成员组成,既有说英语的,也有说汉语的:Yang Li、XiangPeng Zhao、Puja Abbassi、Noah Abrahams、Tim Pepper、Zach Corleissen、Sen Lu 和 Josh Berkus。除了演讲和帮助学员外,团队的双语成员还将所有幻灯片翻译成了中文。共有五十一名学员参加。
Noah Abrahams 讲解 Kubernetes 沟通渠道。摄影:Jerry Zhang
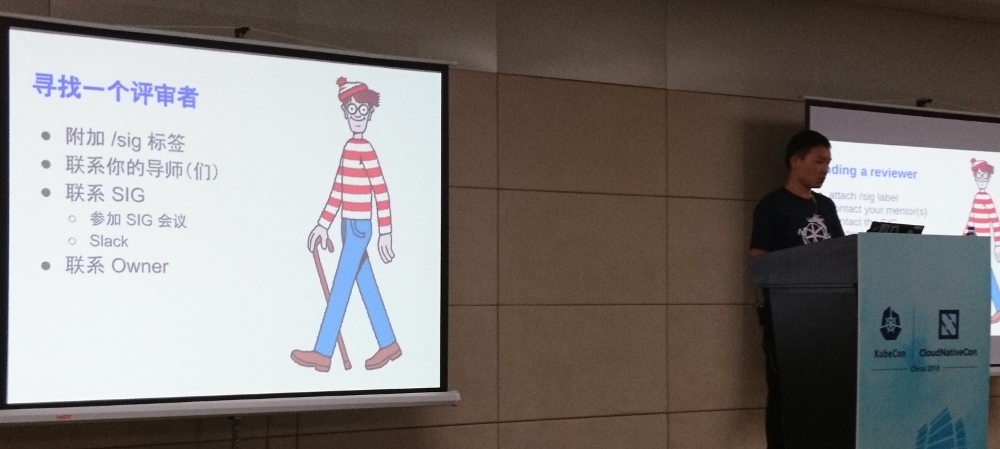
NCW 让参与者完成了为 Kubernetes 作出贡献的各个阶段,从决定在哪里作出贡献开始,接着介绍了 SIG 系统和我们的代码仓库结构。我们还有来自文档和测试基础设施领域的「客座讲者」,他们负责讲解有关的贡献。最后,我们在创建 issue、提交并批准 PR 的实践练习后,结束了工作坊。
这些实践练习使用一个名为贡献者游乐场的代码仓库,由贡献者体验 SIG 创建,让新贡献者尝试在一个 Kubernetes 仓库中执行各种操作。它修改了 Prow 和 Tide 自动化,使用与真实代码仓库类似的 Owners 文件。这可以让学员了解为我们的仓库做出贡献的有关机制,同时又不妨碍正常的开发流程。
Yang Li 讲到如何让你的 PR 通过评审。摄影:Josh Berkus
「防火长城」和语言障碍都使得在中国为 Kubernetes 作出贡献变得困难。而且,中国的开源商业模式并不成熟,员工在开源项目上工作的时间有限。
中国工程师渴望参与 Kubernetes 的研发,但他们中的许多人不知道从何处开始,因为 Kubernetes 是一个如此庞大的项目。通过本次工作坊,我们希望帮助那些想要参与贡献的人,不论他们希望修复他们遇到的一些错误、改进或本地化文档,或者他们需要在工作中用到 Kubernetes。我们很高兴看到越来越多的中国贡献者在过去几年里加入社区,我们也希望将来可以看到更多。
「我已经参与了 Kubernetes 社区大约三年」,XiangPeng Zhao 说,「在社区,我注意到越来越多的中国开发者表现出对 Kubernetes 贡献的兴趣。但是,开始为这样一个项目做贡献并不容易。我尽力帮助那些我在社区遇到的人,但是,我认为可能仍有一些新的贡献者离开社区,因为他们在遇到麻烦时不知道从哪里获得帮助。幸运的是,社区在 KubeCon 哥本哈根站发起了 NCW,并在 KubeCon 上海站举办了第二届。我很高兴受到 Josh Berkus 的邀请,帮助组织这个工作坊。在工作坊期间,我当面见到了社区里的朋友,在练习中指导了与会者,等等。所有这些对我来说都是难忘的经历。作为有着多年贡献者经验的我,也学习到了很多。我希望几年前我开始为 Kubernetes 做贡献时参加过这样的工作坊」。

贡献者圆桌讨论。摄影:Jerry Zhang
工作坊以现有贡献者圆桌讨论结束,嘉宾包括 Lucas Käldström、Janet Kuo、Da Ma、Pengfei Ni、Zefeng Wang 和 Chao Xu。这场圆桌讨论旨在让新的和现有的贡献者了解一些最活跃的贡献者和维护者的幕后日常工作,不论他们来自中国还是世界各地。嘉宾们讨论了从哪里开始贡献者的旅程,以及如何与评审者和维护者进行互动。他们进一步探讨了在中国参与贡献的主要问题,并向与会者预告了在 Kubernetes 的未来版本中可以期待的令人兴奋的功能。
工作坊结束后,XiangPeng Zhao 和一些与会者就他们的经历在微信和 Twitter 上进行了交谈。他们很高兴参加了 NCW,并就改进工作坊提出了一些建议。一位名叫 Mohammad 的与会者说:「我在工作坊上玩得很开心,学习了参与 k8s 贡献的整个过程。」另一位与会者 Jie Jia 说:「工作坊非常精彩。它系统地解释了如何为 Kubernetes 做出贡献。即使参与者之前对此一无所知,他(她)也可以理解这个过程。对于那些已经是贡献者的人,他们也可以学习到新东西。此外,我还可以在工作坊上结识来自国内外的新朋友。真是棒极了!」
贡献者体验 SIG 将继续在未来的 KubeCon 上举办新贡献者工作坊,包括西雅图站、巴塞罗那站,然后在 2019 年六月回到上海。如果你今年未能参加,请在未来的 KubeCon 上注册。并且,如果你遇到工作坊的与会者,请务必欢迎他们加入社区。
链接:
- 中文版幻灯片:PDF
- 英文版幻灯片:PDF 或 带有演讲者笔记的 Google Docs
- 贡献者游乐场